NAS - Openmediavault

OpenMediaVault is a Debian-based NAS platform with a web interface for managing disks, shares, and users. This covers adding a virtual disk, formatting it, creating an SMB share, and granting user access.
NAS SERVER
The server runs on an HP ProLiant MicroServer Gen7 (dual-core 2.2 GHz) with Proxmox as the KVM hypervisor. Proxmox provides a web interface that makes VM management far simpler than working with libvirt and virsh directly.
Proxmox
Here is an overview of the OpenMediaVault VM in Proxmox:
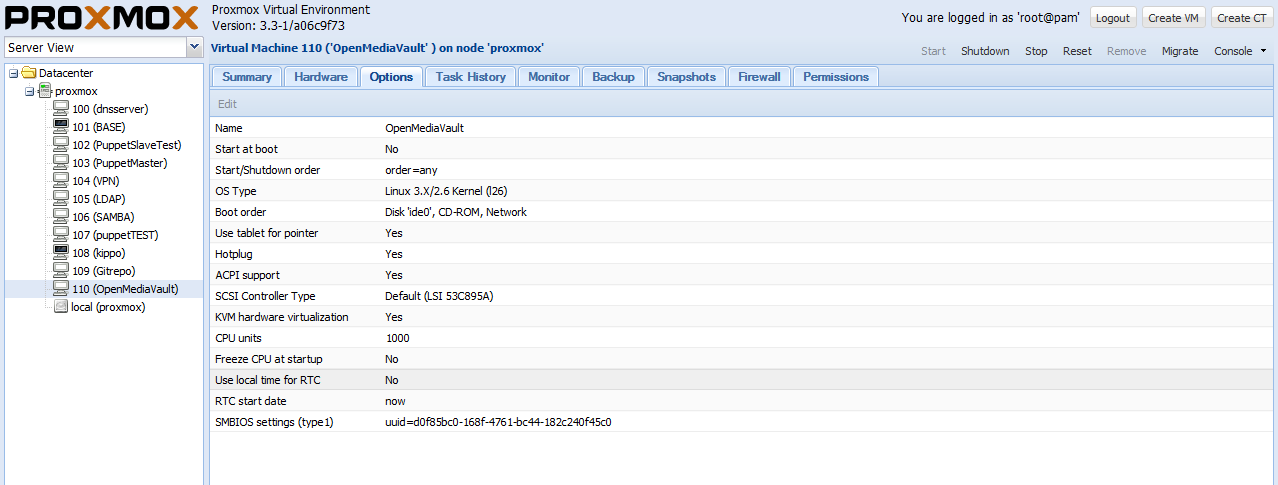
Proxmox - OpenMediaVault server overview
Adding a new virtual HDD to the VM requires a full power-off, not a restart. Hot-plug was not enabled on this VM, so the new 500 GB drive only appeared after shutting down and powering the VM back on.
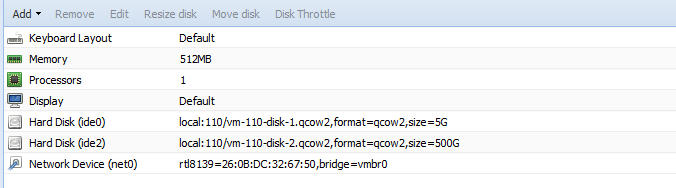
OpenMediaVault
After a VM shutdown the HDD becomes visible and OpenMediaVault can manage it.
Creating a file system
Steps to add a share backed by a new disk:
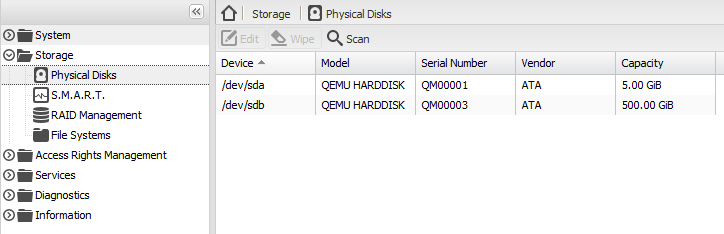
- Confirm the drive appears under Storage > Physical Disks
- Create a file system on the drive
- Add a shared folder under Access Rights Management
- Enable an SMB share under Services > SMB/CIFS
- Grant users access to the shared folder
First, verify OpenMediaVault has found the disk:
The drive needs a configured file system before it can hold data:
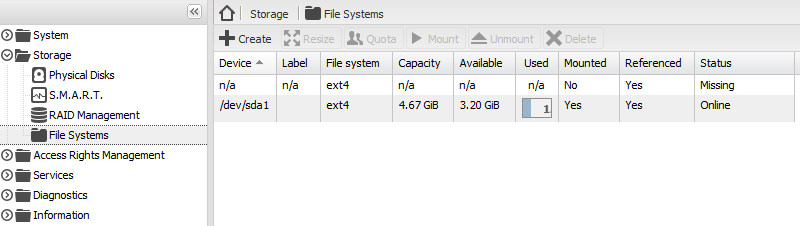
Under Storage > File Systems, use “Create” to format the new drive:
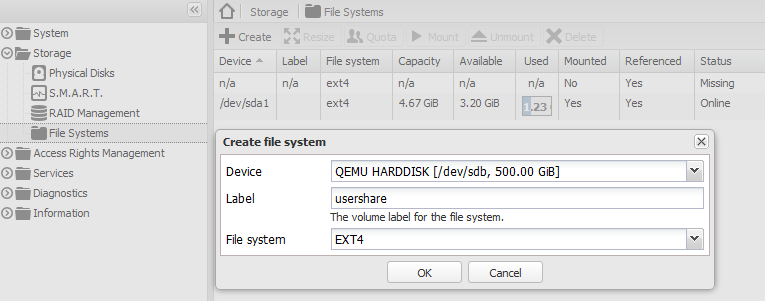
- Choose the device. A QEMU virtual disk appears here because this is a VM. The backing image is Qcow2, so it only consumes space equal to the files stored on it.
- Give the volume a short label describing its purpose.
- Select EXT4 as the file system type.
- Confirm the format prompt.
OpenMediaVault formats the drive:

After formatting, mount the volume:

Creating share folder
Create a shared folder under Access Rights Management. The example below uses a music folder:
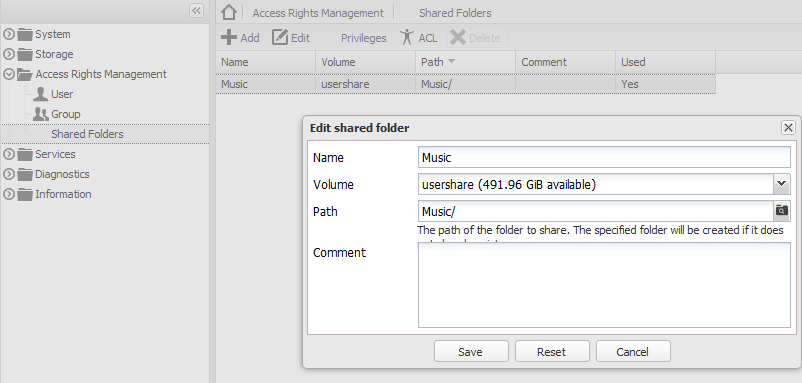
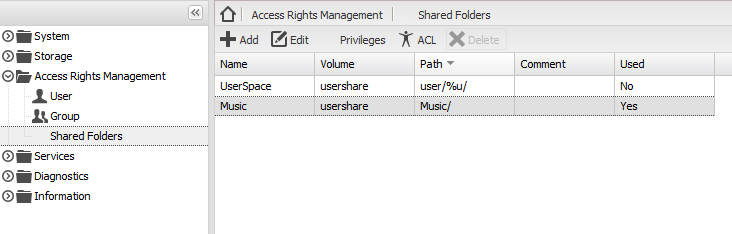
The shared folder now exists, but Windows clients cannot reach it yet because SMB is not enabled:
Enable SMB under Services > SMB/CIFS and add the new share:
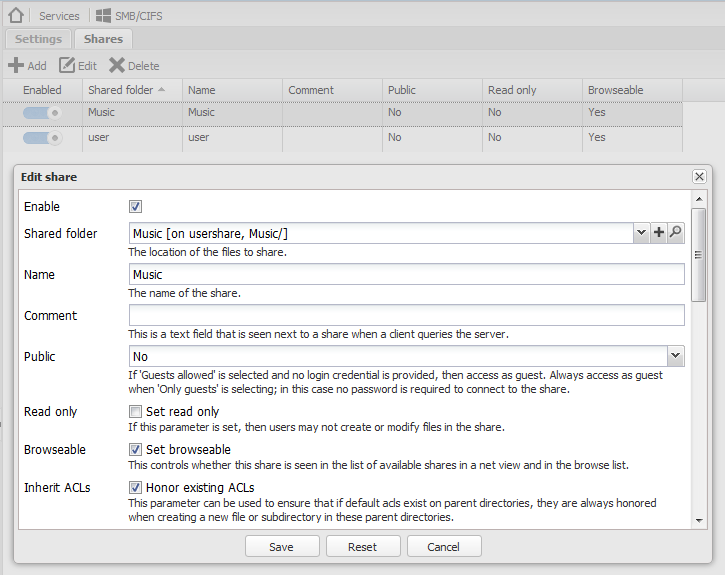
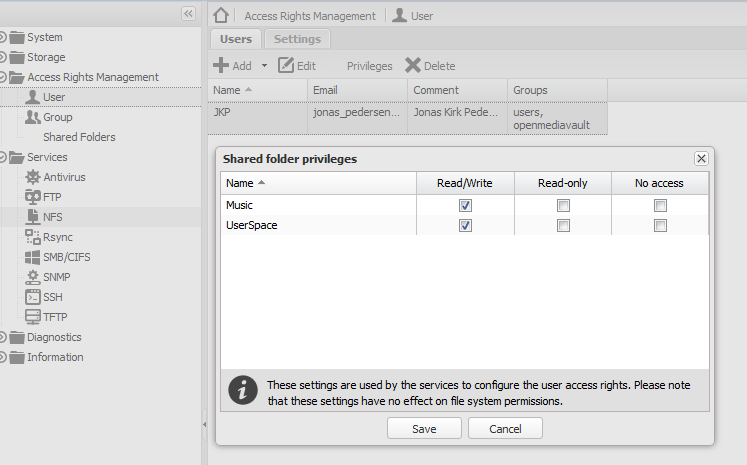
The share is now a non-public SMB share. No users have access to it yet.
Managing users and permissions
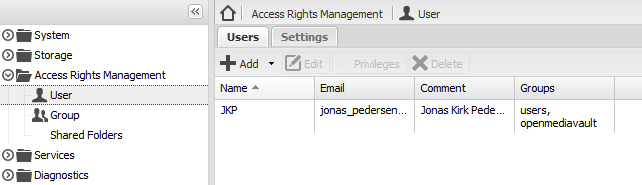
Create a user account under Access Rights Management > Users. The example uses initials JKP:
Grant the user access to the music share through one of two mechanisms:
- Privileges - sets read/write, read-only, or no access per user per share
- ACL - allows more granular permission rules on the same share