Basic LDAP Installation
updated 22 March 2015This guide covers OpenLDAP installation and initial configuration on Debian 7.8. The server uses a static IP assigned by DHCP (192.168.20.5), the domain is kirk, and the hostname is ldap. Commands run as root.
Install OpenLDAP
apt-get update
apt-get install slapd ldap-utils
The installer prompts for an administrator password. Enter one and confirm it.
OpenLDAP Configuration
Configuration has two parts:
- Edit
/etc/ldap/ldap.conf - Reconfigure the slapd package with
dpkg-reconfigure
Edit ldap.conf
nano /etc/ldap/ldap.conf# LDAP Defaults
#
# See ldap.conf(5) for details
# This file should be world readable but not world writable.
BASE dc=kirk
URI ldap://192.168.20.5
#SIZELIMIT 12
#TIMELIMIT 15
#DEREF never
# TLS certificates (needed for GnuTLS)
TLS_CACERT /etc/ssl/certs/ca-certificates.crtThe hostname in this setup is ldap.kirk. With no public domain, dc=kirk is sufficient. Save the file, then restart slapd:
service slapd restartReconfigure slapd
dpkg-reconfigure slapdThe reconfiguration wizard asks several questions. Here is how each prompt was answered for this setup.
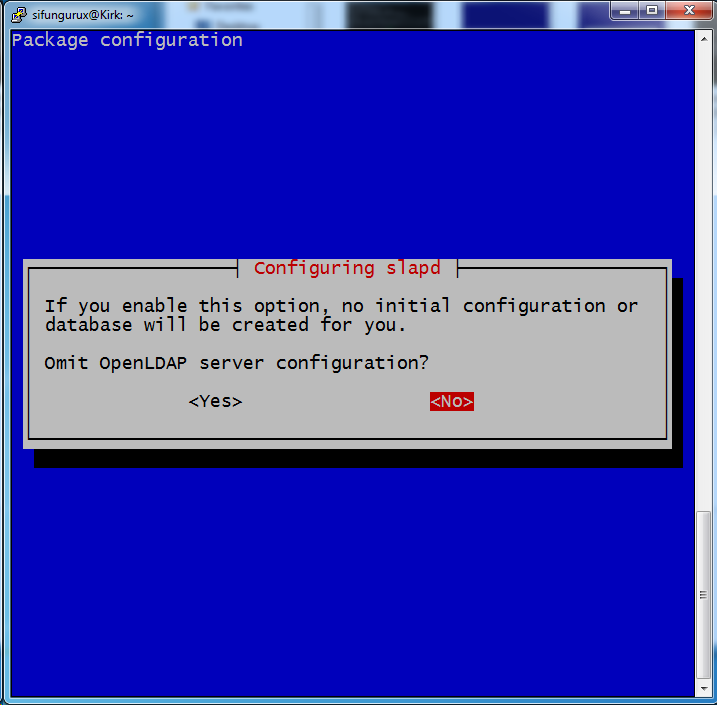
Omit OpenLDAP server configuration? Select No:
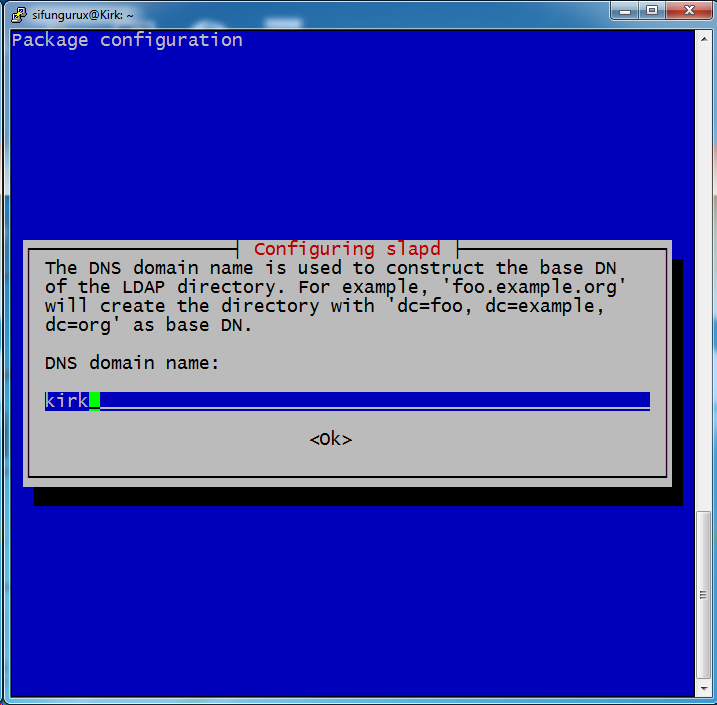
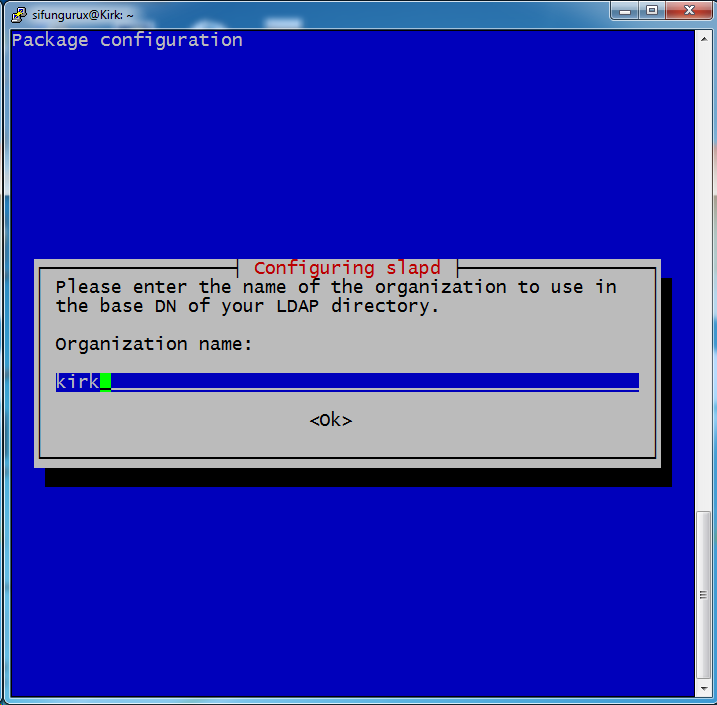
DNS domain name prompt, select Ok. The wizard fills in the local domain received from DHCP. The same applies to the Organization Unit:
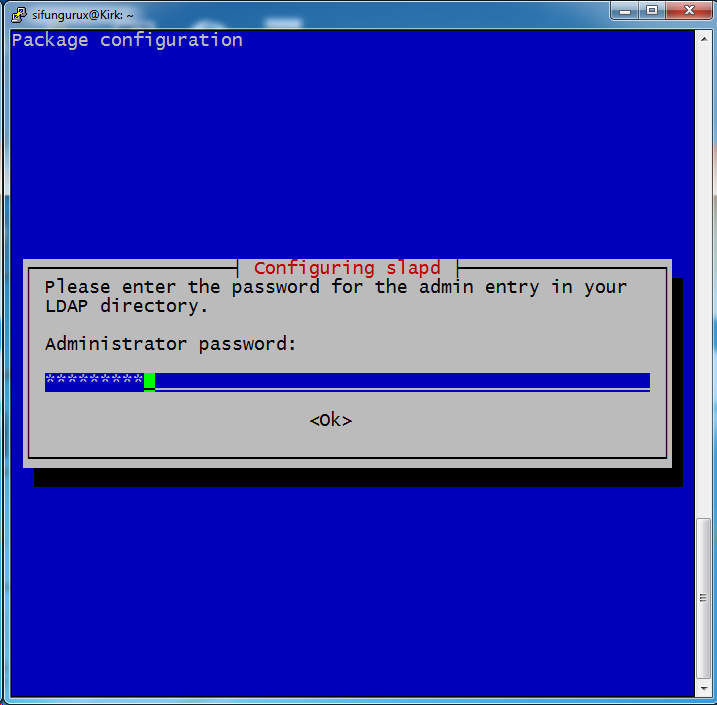
Enter an administrative password and confirm it:
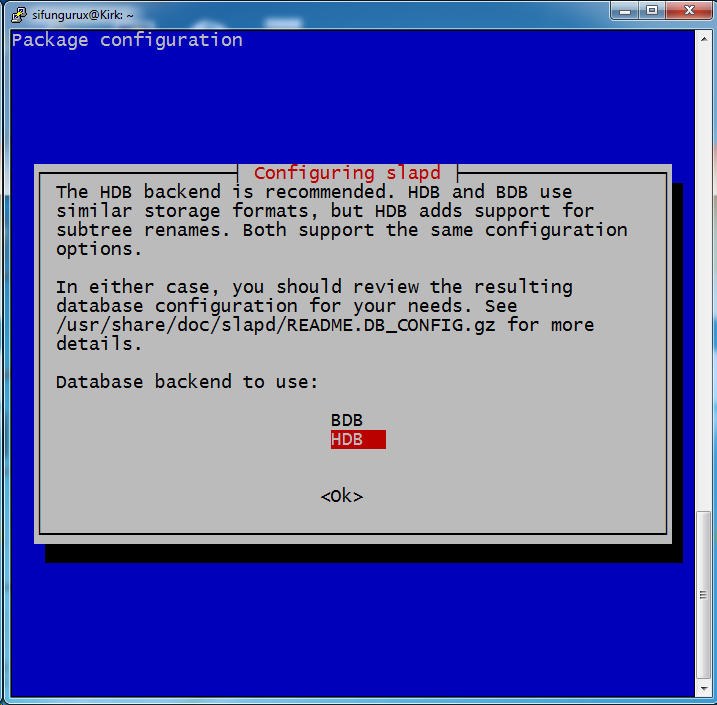
Choose the default HDB database:
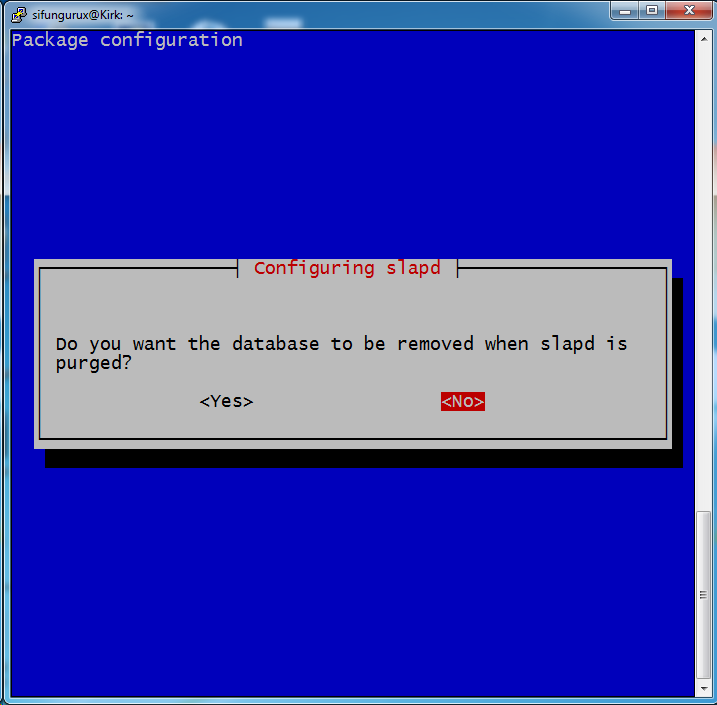
Keep the database when slapd is purged? Select No:
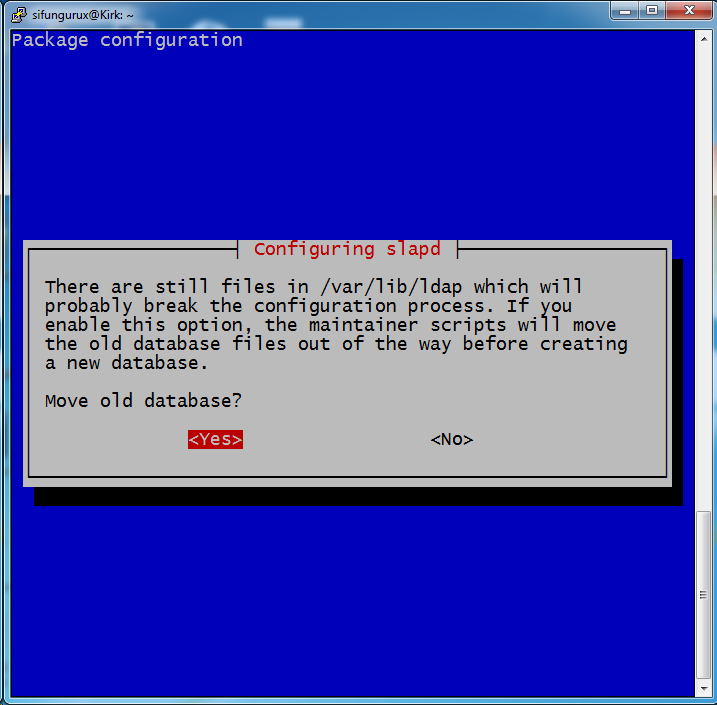
Move old database files? Select Yes:
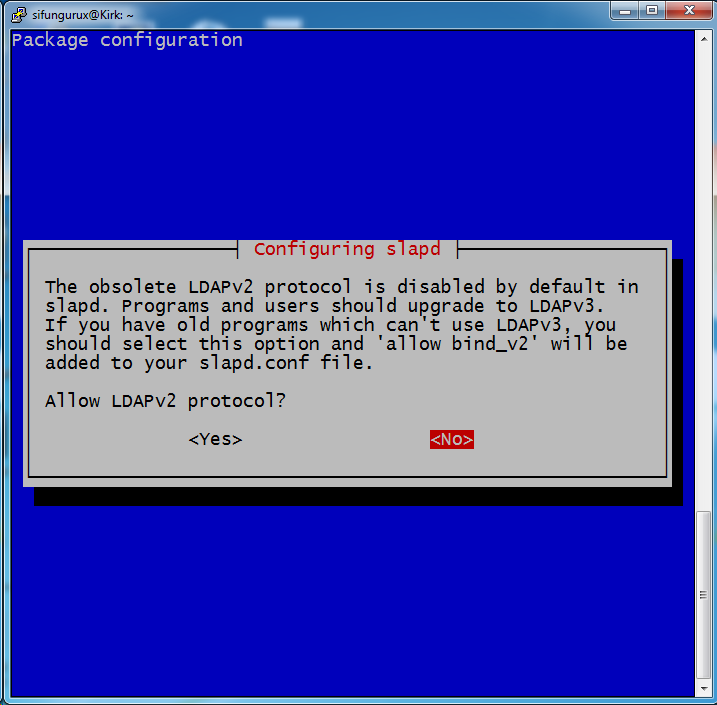
Allow LDAPv2 protocol? Select No.
LDAP Test
Verify the configuration:
ldapsearch -x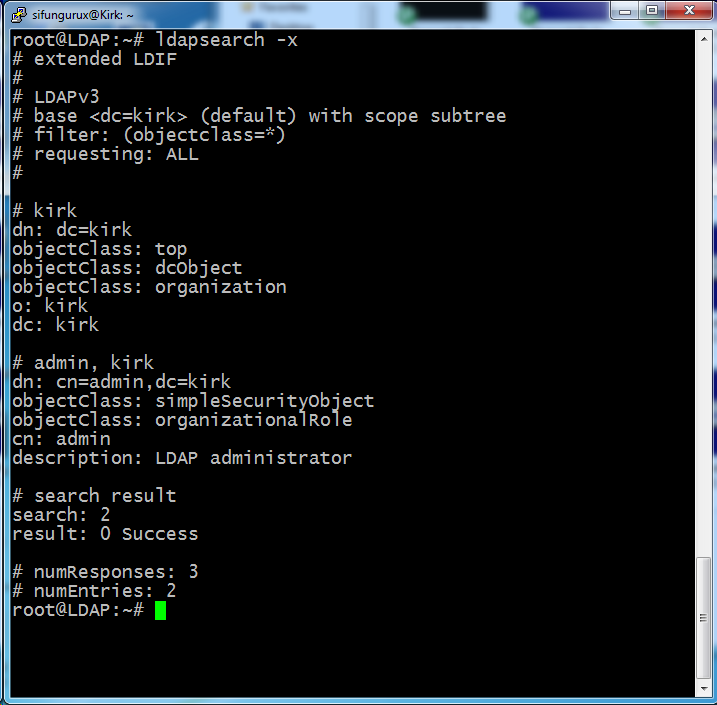
A successful result confirms the OpenLDAP server is running. Next steps in this series:
- Creating users
- Installing GOsa for easy management